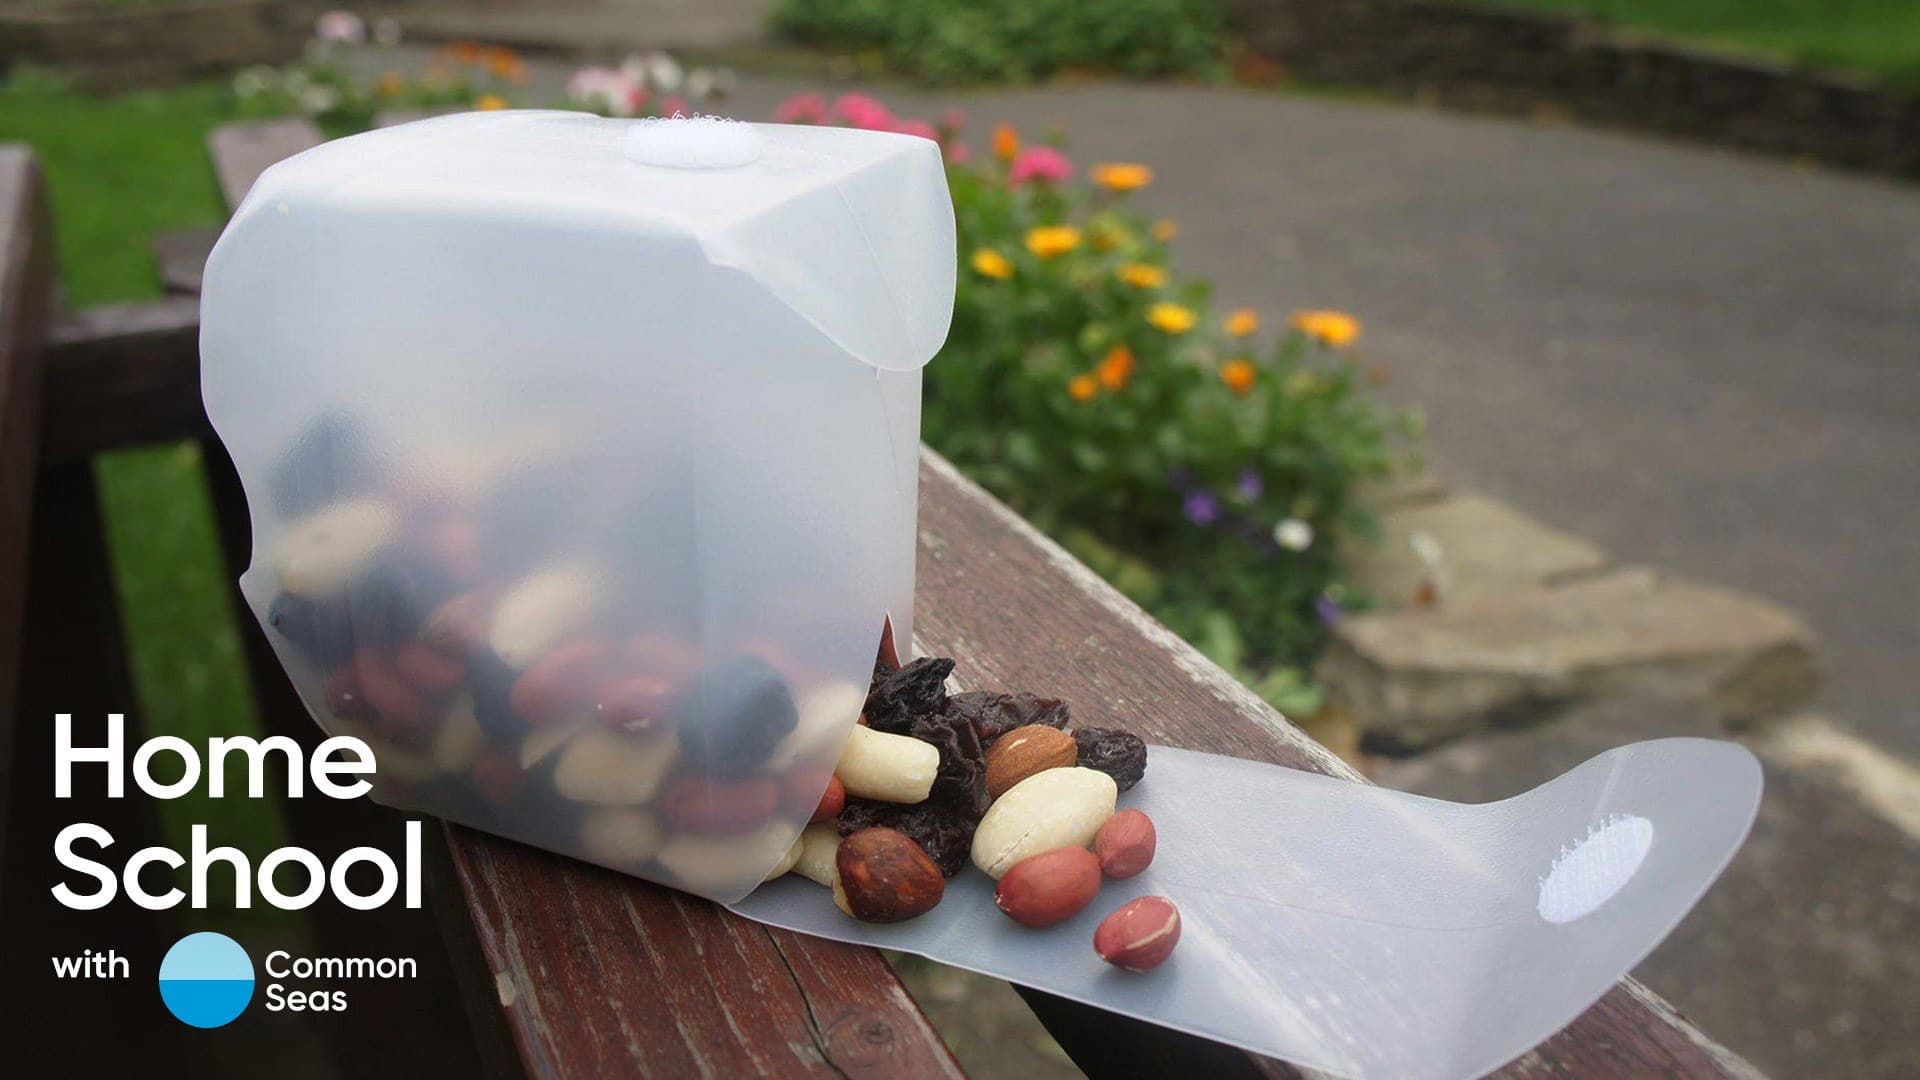
Plastic snack box

In the UK most milk bottles, which are commonly made from HDPE (Resin Identification Code 2) can be recycled. To be a plastic hero, we need to reduce the amount of plastic that we use and stop it from ever becoming waste. This activity involves re-using a plastic milk bottle to make a snack box that turns waste into something useful.
Ages 7+
(adult supervision)
40 minutes
Part of:
Common Seas Ocean Plastics AcademyOverview
We live in a world full of plastic. As we learn to redefine our relationship with this material, we can find inspiration in the 6 Rs: recycle, reuse, reduce, repair, refuse, and redesign.
Many people are great recyclers but find it challenging to implement the other Rs, which have a greater impact on reducing plastic pollution.
This activity shows you step by step how to rethink how a plastic milk bottle can be used to make your own snack box. Win-win for you and the environment.
Activity steps
- Prepare your area by clearing your desk, laying newspaper down and laying out all the materials. Don't forget to wash out the bottle before use.
- Take the pen and draw a horizontal line around the bottle, approximately 10cm from the bottom. Then draw out a semi-circle above this line on each side and the front of the milk carton. These will be the flaps on your box.
- On the back, i.e. opposite the handle, measure up a further 10cm and draw a semi-circle above this line. In the picture above, you can see how the back section will fold over to be your lid.
- Squeeze the milk carton together at the top and cut into it. Then cut around the edges of each semi-circle.
- Fold the flaps and the lid along the ridge in the milk bottle.
- Stick a velcro pad to the front of the bottle, just below the folded semi-circle.
- Attach the velcro pads together, removing the backing from the second pad and close the lid. This will stick the second pad in the right place.
- Check and make sure your pads are on securely.
- Put in your snacks!
- Now the most important bit… what are you going to put in your snack box? We’d love to see what a sea champion eats! Please share a snap of your snackbox - don’t forget to tag @commonseas and use the #SeaChampions so we know where to look. Thank you!
Reflection
Time to consider the advantages and disadvantages of plastic as a material. Reflect by discussing the following questions with a parent or friend.
- Who might want to use a snack box like this?
- Why is plastic a good material for a snack box?
- What is good about your product?
- What could you do to make your product better?
- Why is it important to rethink plastic waste?
Further ideas
You can explore a full unit looking at design and plastics with the Ocean Plastics Design and Technology lessons for ages 11 to 14. For younger students have a look at the lesson for ages 5 to 7, What can I do? and for ages 7 to 11, try the design-focused lessons Design Technology – The plastics problem and Design Technology – The plastics solution.
Safety guidance
- This activity involves cutting through plastic and can, therefore, be quite tricky so adult supervision and the use of child-appropriate tools such as safety scissors is advised.
- If you are posting work on social media, this should be done via a parent, guardian or school account for children under the age of 13. Children over the age of 13 should still be supervised by an adult. Check out the Thinkuknow website for more guidance on online safety.
Brought to you by


