How to: Use mBlock
These instructions guide you to download, install and use the mBlock 3 coding software for use with the Code Smart resources.
Install mBlock 3
Download mBlock 3
Download mBlock 3 for your operating system from http://www.mblock.cc/software/mblock/.
You may need to contact your school’s network manager to help you, if your school system requires permission to install outside software. They may also be helpful for getting the software on all of the computers your students will be using.
Follow the instructions to install the downloaded software onto your computer.
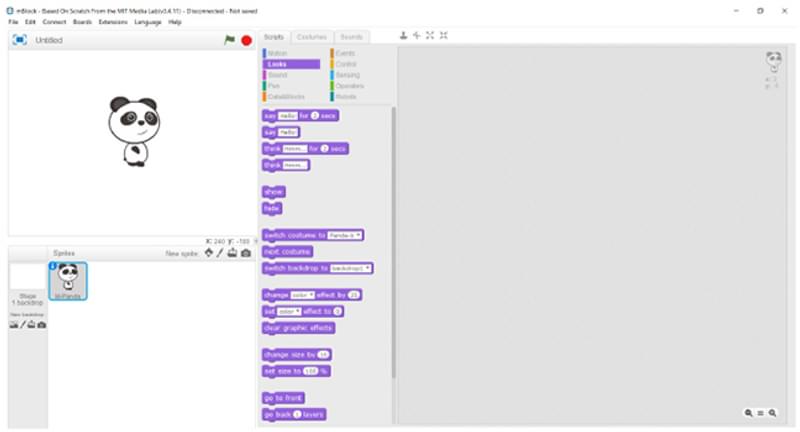
When you open mBlock, you should see a screen similar to this:
Check mBlock settings
There are a couple of settings that you should check for in order to be ready to code your mBot.
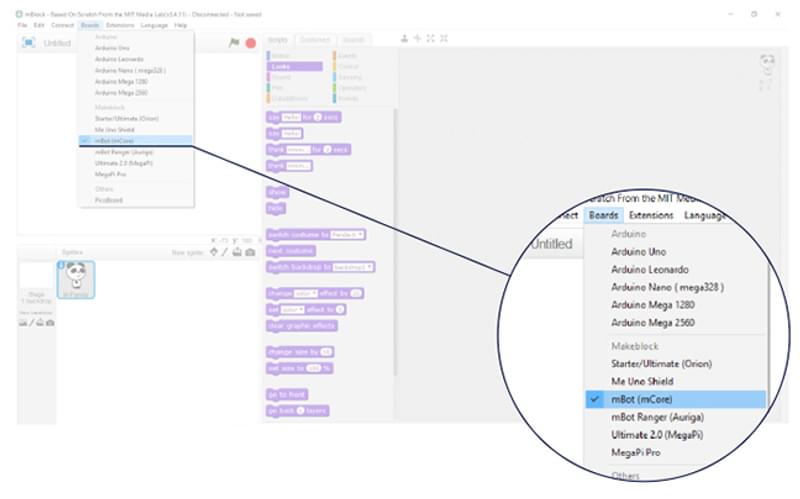
Go to the Boards menu and check that mBot (mCore) is selected. It may have a check mark already next to it. If not, click mBot (mCore) to select.
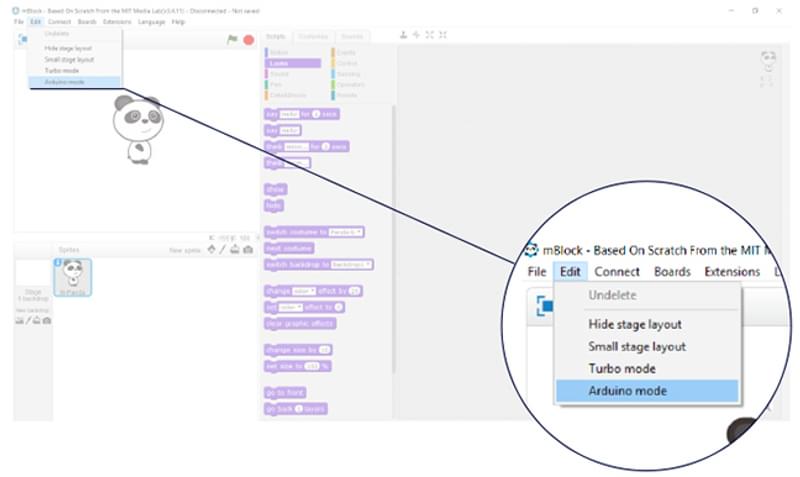
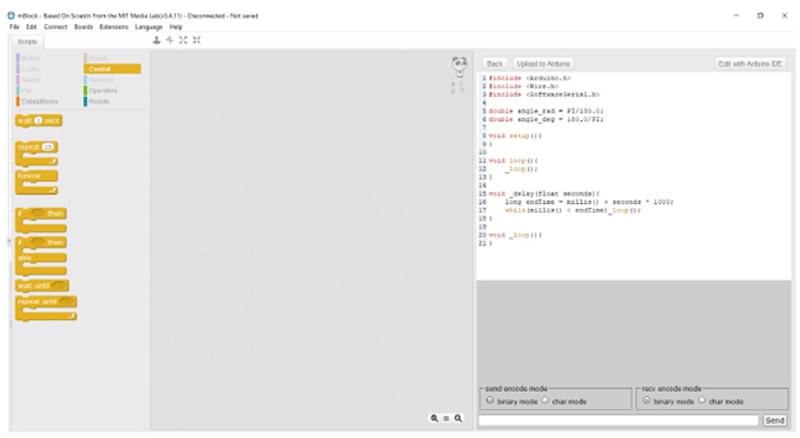
Then go to the Edit menu and select Arduino mode.
This will make your screen look like this:
Quick start guide to coding
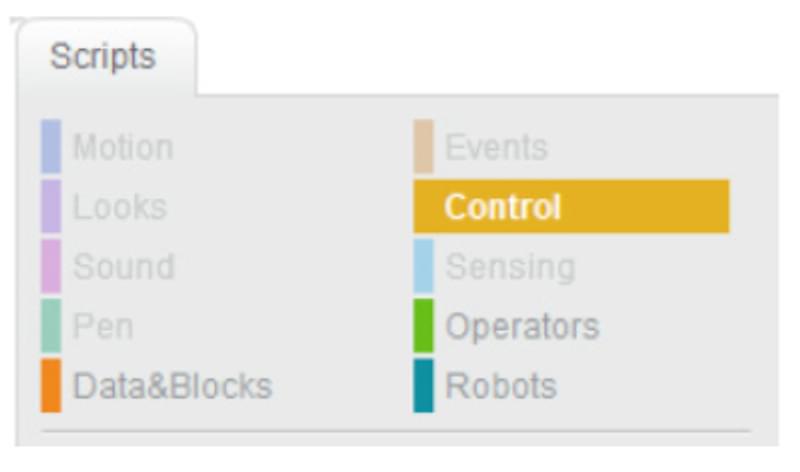
On the left side of your screen you should see all of the different ‘Scripts’ that you can use. You’ll be mostly using the blue Robots blocks, gold Control blocks, and green Operators blocks.
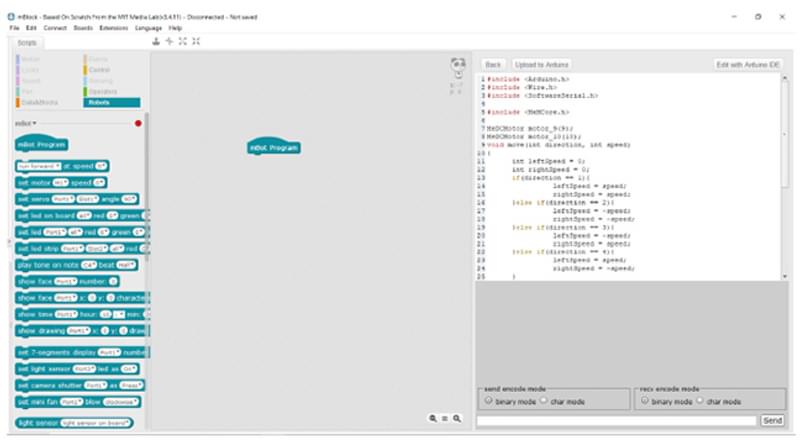
When you are ready to write your code, all you have to do is click a block, drag and drop it to the script area in the middle of your screen. Note that the Arduino code in the right panel automatically updates, which can be helpful for demonstrating what typical typed code might look like.
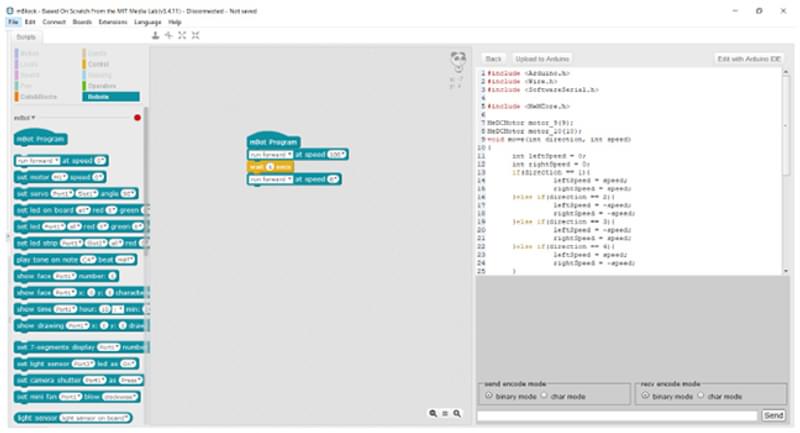
As you add more blocks to your code, make sure they snap into place. You can also rearrange blocks as much as you like. To delete a block, just drag it back into the script blocks section. Many blocks also have dropdown menus within them to allow you to adjust specific commands. Please refer to the Glossary: mBlock for brief descriptions of the blocks used in Code Smart.
Quick start guide to uploading code to the mBot
Connect mBot to your computer with the USB cable provided.

Then switch ON the power to mBot and set mBot upside down. We recommend putting mBot upside down because it immediately starts running programs once they are uploaded and we wouldn’t want mBot to fall off the desk or a table!
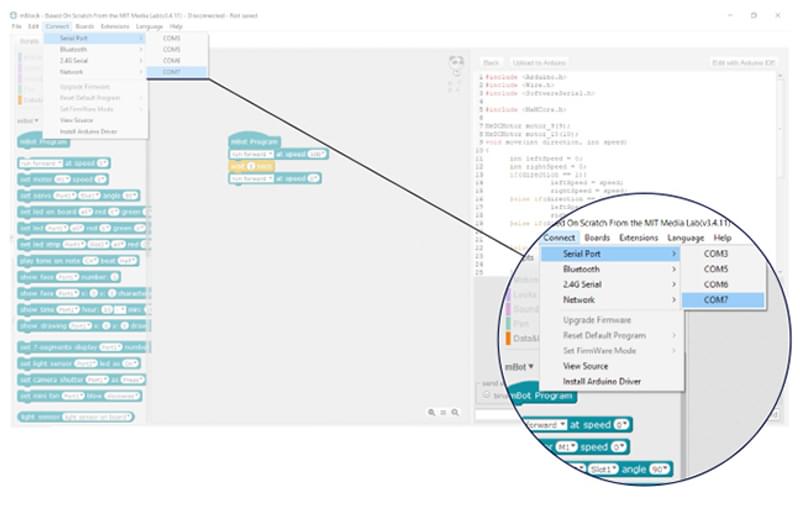
Then you should go to the Connect menu and enter the Serial Port submenu. Select the last option. The last option should be something like ‘COM#’, where # is the largest number in the list.
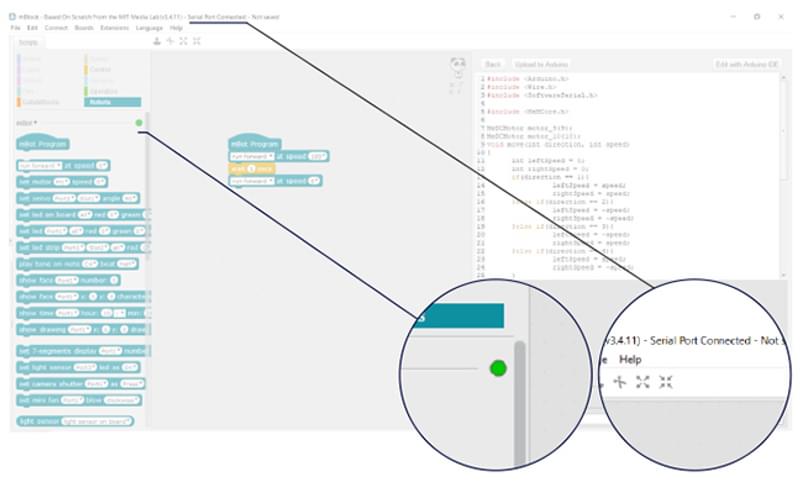
You should notice that your mBlock environment should update to say ‘Serial Port Connected’. Additionally, you should notice a green status dot in the Scripts column next to mBot if you have the Robots block type selected.
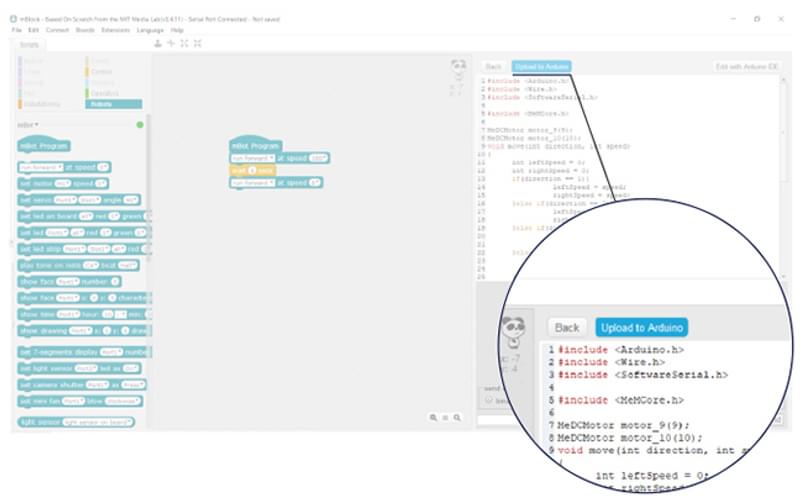
To upload your code to your mBot, click Upload to Arduino.
You should see a small window like this pop-up:
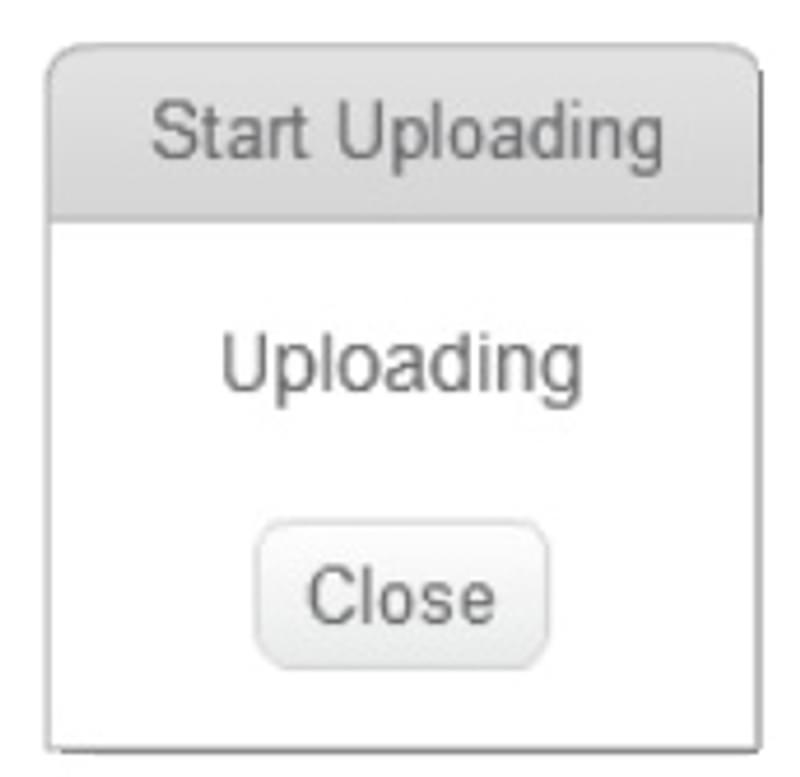
Don’t close this window as it will give you a status update when uploading is finished. (Note if the green dot next to mBot in the Scripts column turns red that is okay.)
When the upload is finished you should the small window update to look like this:
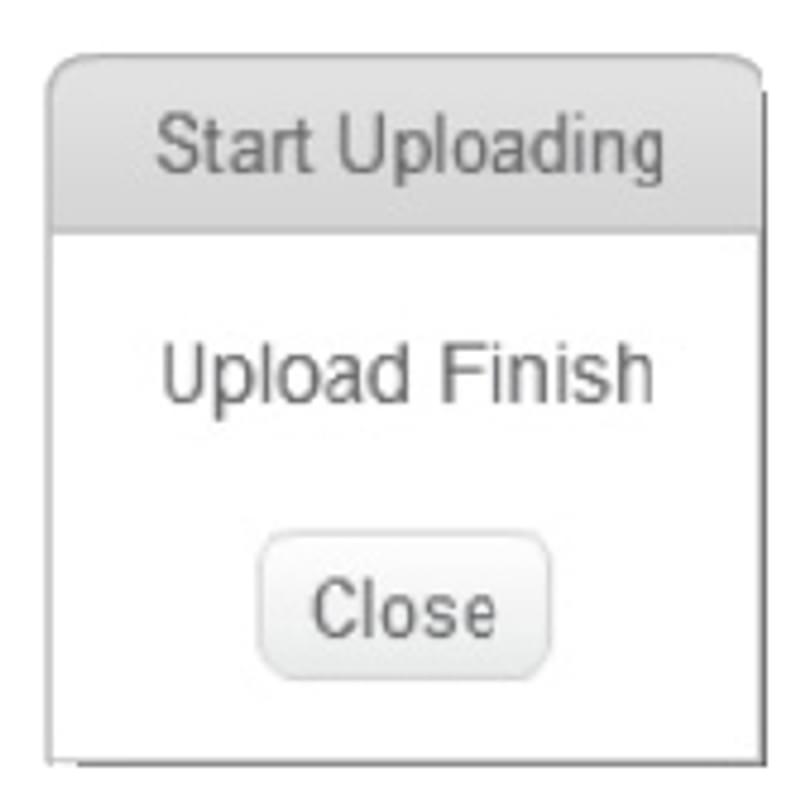
Success! Your mBot should have your program uploaded. You may even notice mBot moving as soon as the upload is done. To let mBot move according to your program, disconnect mBot, set it on the ground, and toggle the power switch OFF and then ON again. Your mBot should do what your program says.
Computing | Ages 7-11
Code Smart
Code Smart is a computing and robotics education programme based on driverless car technologies. Code Smart takes students on a journey from complete beginners to code creators.
